A Daydreaming AI for my Desk
Using a Raspberry Pi and a 7” screen, I built a little AI that sits on my desk and daydreams to entertain and inspire me. Here’s how I did that.
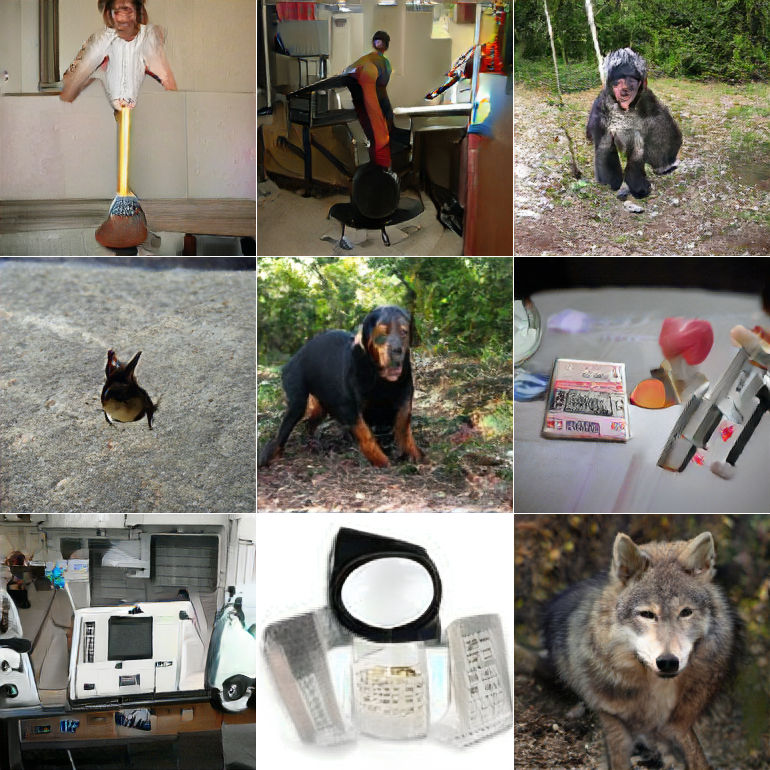
This project is based on BigGAN, a neural network that is able to generate entirely made up, but realistic looking photos. One of the most interesting things about BigGAN, besides its impressive ability to generate convincing photos, is how it responds when it is “abused”. Normally BigGAN is fed random noise and a specific class of image that you want. But if you feed it a mixture of classes then it will find weird and wild ways to blend those mixtures of classes. What would the combination of a person and a broom look like? BigGAN will attempt to explain it to you, among other weird and bizarre combinations in the examples below:
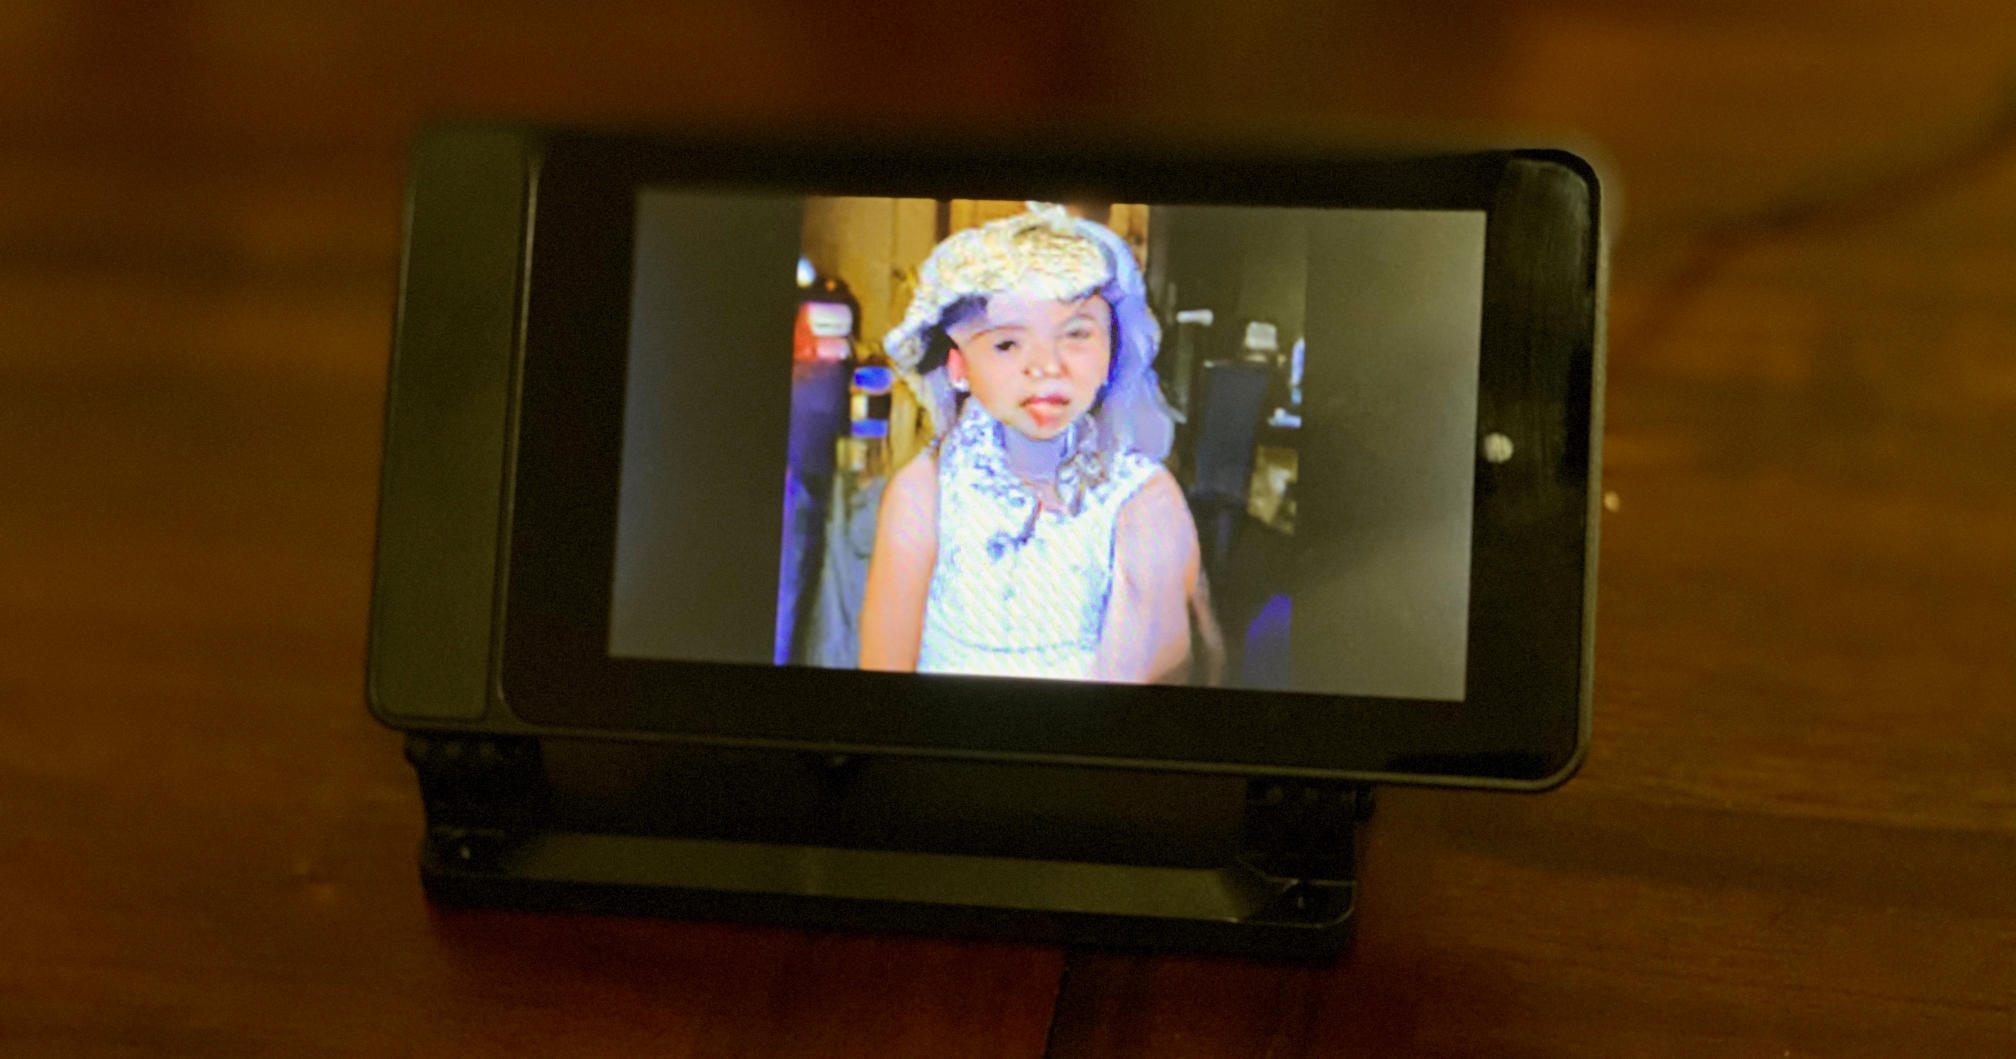
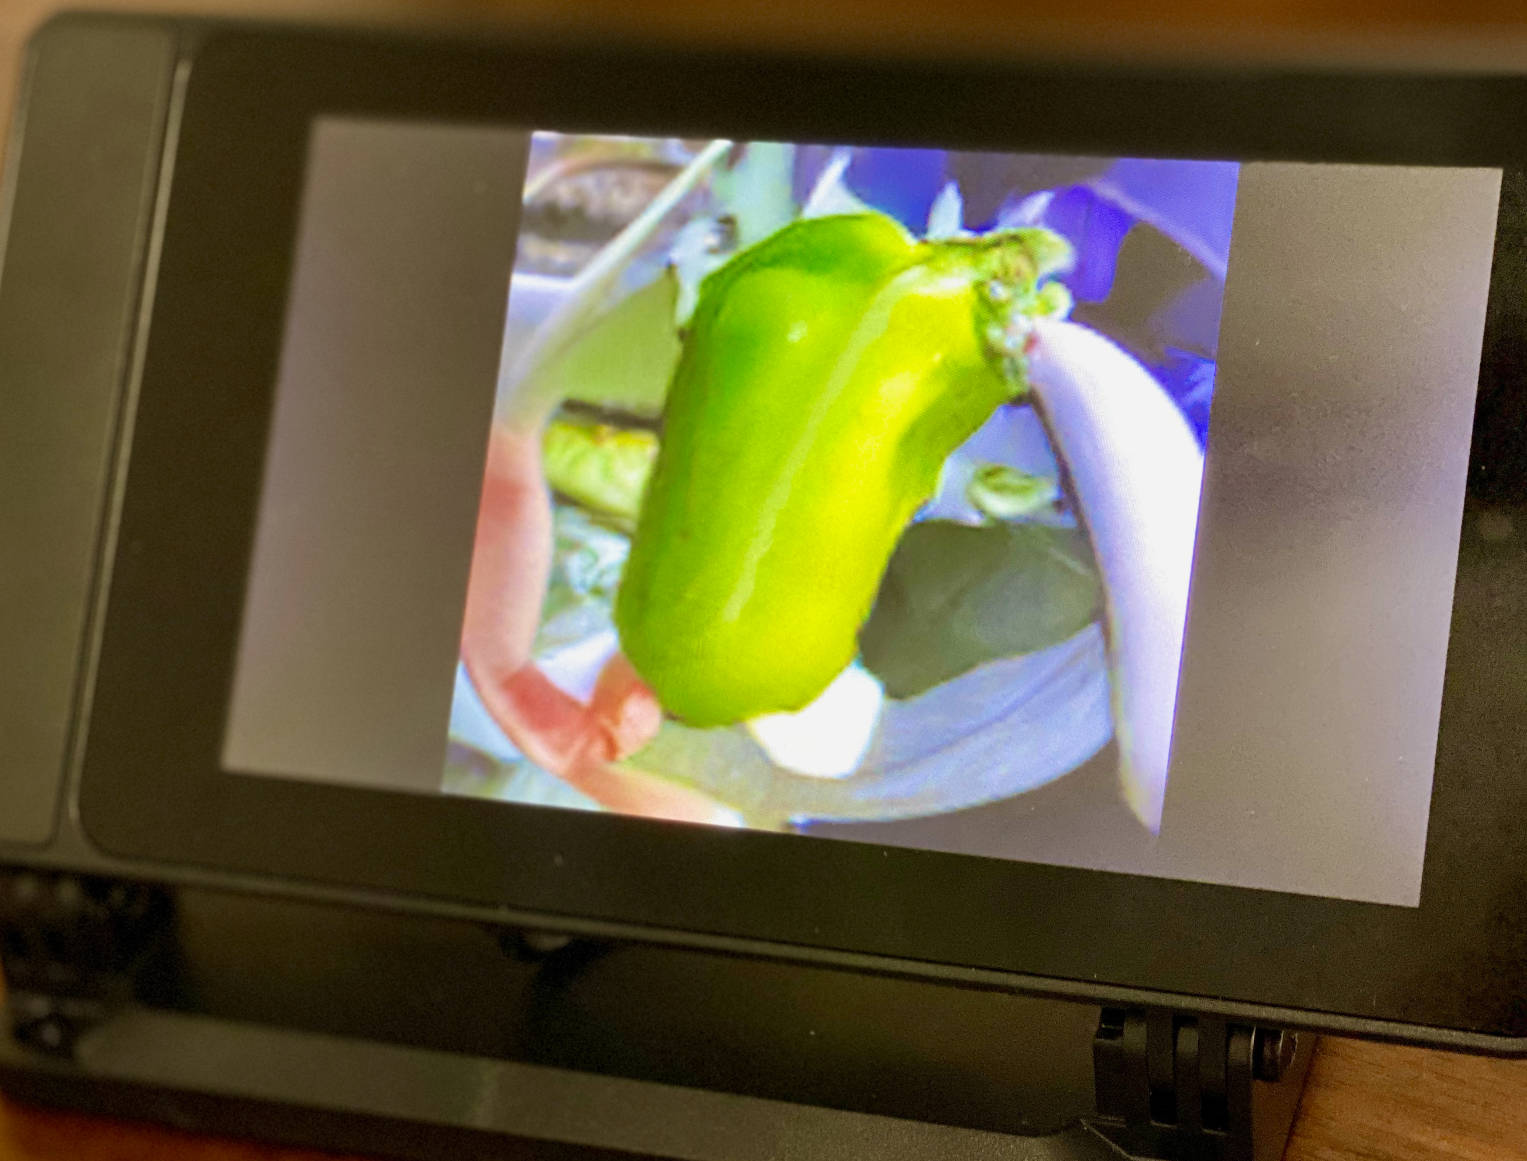
I find these class mixtures to be deeply compelling. They reveal the creative side of the neural network, because it was never explictly trained to generate images like these. They are artifacts of its process, and those artifacts constantly surprise and inspire me. And so I set out to build a small picture frame that could sit on my desk and show a stream of these creative pictures. A daydreaming AI.
Normally, advanced neural networks like these require a big computer with a GPU, due to their memory footprint and computational requirements. But I would only be running infererence and I wouldn’t need to generate the photos quickly. There’s nothing special about a GPU; a neural network can just as happily run on a CPU. And the more recent Raspberry Pi 4 comes in 4GB versions with quad cores, which might just be enough to run the network. So, I gave it a try.
To my great surprise, the network runs in a reasonable amount of time, about 3 seconds to generate a 128x128 image. It should also technically have enough RAM to generate 256x256 images, but as far as I could tell the current Raspbian OS limits process memory to 2 or 3GB (the newer 64-bit Raspberry OS will supposedly raise this limit).
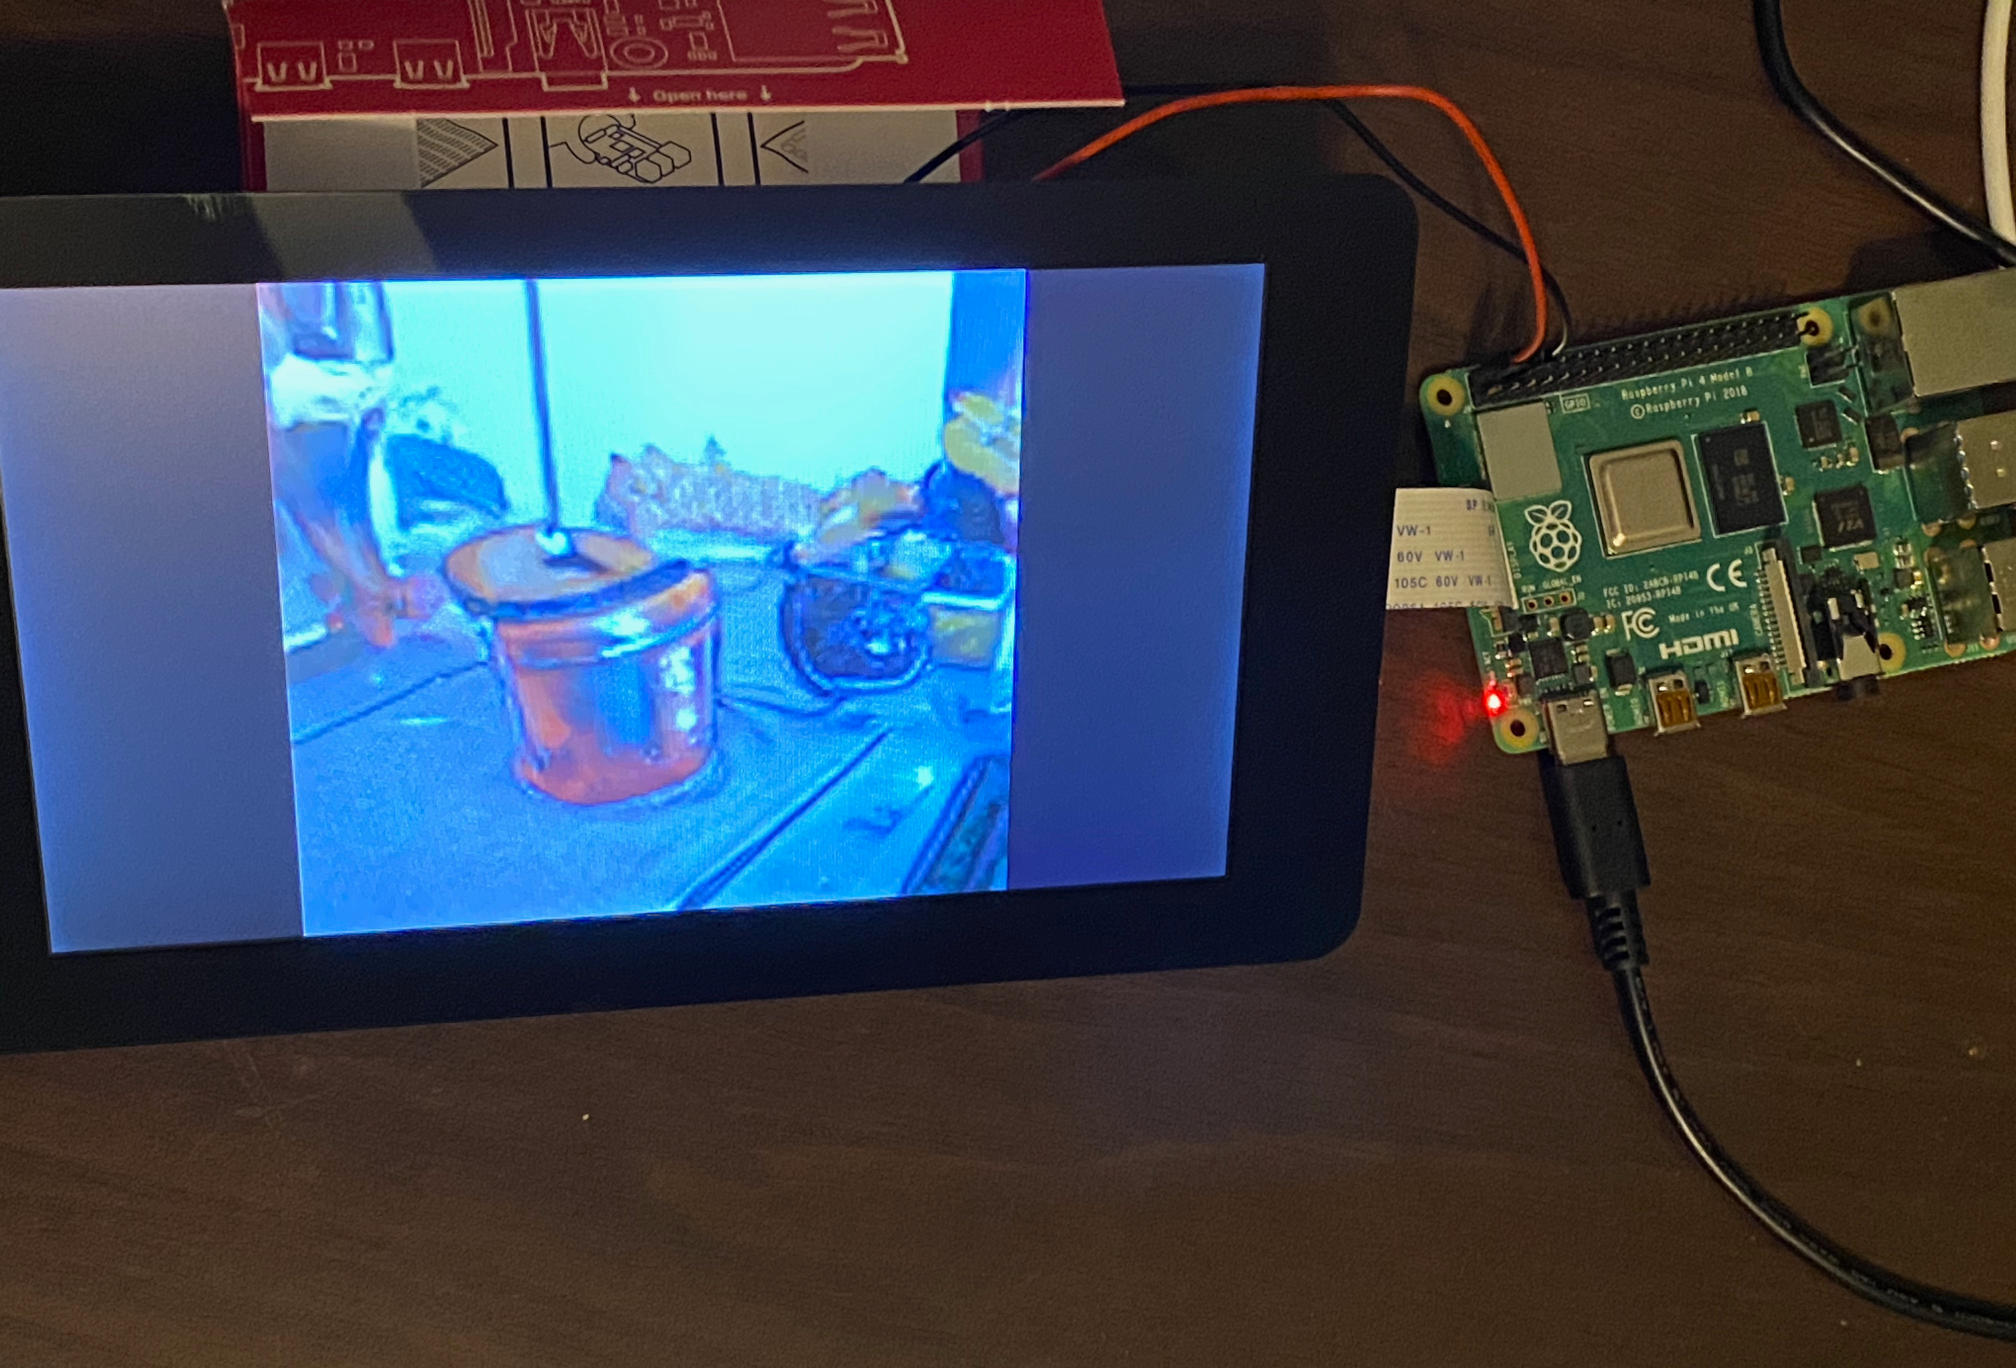
Here are the more technical details. For the screen I used the official Raspberry Pi 7” touchscreen, installed into a nice case. The BigGan-deep-128 version of the network is used, available on TensorFlow Hub. Tensorflow installed on the Pi with no problems, although only older versions are available (in my case it installed 1.14). One major problem with running this network on the Pi is that it takes a few minutes just to load the model into memory (even when it’s cached locally). So to make it easy to mess around and tweak things I ran jupyter notebook on the Pi and wrote the code as a notebook.
Here’s a gist with the final notebook. It’s more-or-less the BigGAN example code, with the addition of a main loop for continously generating images. To keep things simple I don’t even run an X server on the Pi; the generated images are instead written directly to the framebuffer (see the display_image_to_framebuffer function). PIL is used to resize the images from 128x128 to 480x480, then numpy is used to pad that out to the native 800x480 resolution, and the bytes are reordered for the framebuffer’s native byteorder (which I think was ABGR). At that point the raw numpy array can be written directly to /dev/fb0.
The final piece is getting the notebook to run on startup. As far as I could find, jupyter notebook does not provide an easy way to start and run a notebook from the command line or programmatically (I guess you’d have to manually poke the notebook server API). So instead I have a simple script that runs on startup. First it runs: venv/bin/jupyter nbconvert --to script Dream.ipynb to convert the notebook to a normal Python script. Then it just runs the output: venv/bin/python -u Dream.py.
Overall this was a simple project without too many surprises (a rarity in computer science). I’ve had the little guy sitting on my desk for a few days now and I’m constantly surprised by the weird and wonderful things it dreams up. It’s nice to look over at it when I’m thinking about some challenging code.