Making Dumb Fans Smart Using Software Defined Radio

This is the story of how I spent far too much time and effort making dumb ceiling fans smart using Software Defined Radio (SDR). It’s a longer, slightly technical post covering the RX and TX side of SDR, ancient signaling protocols, pain, agony, buggy firmware, and temperamental hardware. Hopefully the details of this journey will be useful to others getting into SDR, or at least entertaining to those with schadenfreude.
Let’s set the stage. Our house has a number of remote controlled ceiling fans, and I want to be able to control these fans from Alexa and HomeKit (Siri). Since they all have remotes, it should be possible to use SDR to emulate the signals the remotes would normally send and then I can wire up the SDR to a server for integrating into Alexa and HomeKit. Easy! …
First things first, let’s take a look at the remotes:
The Remotes
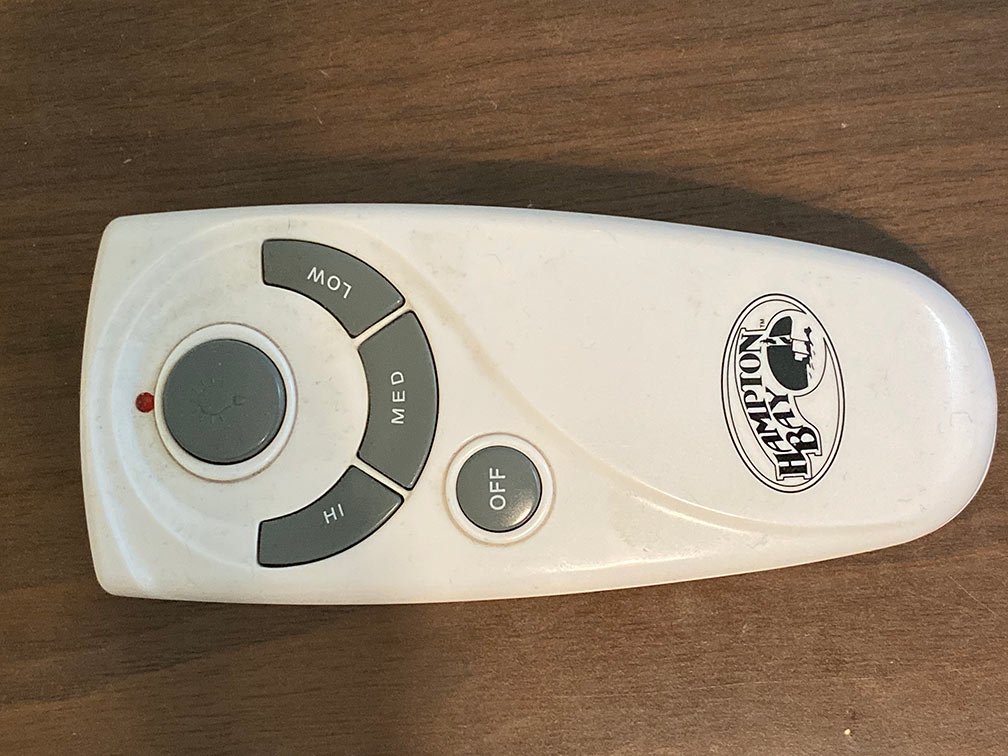
The best way to learn more about any remote control is to check the FCC ID. All RF emitting devices in the U.S. have an FCC ID printed somewhere on them, and this ID is tied to an FCC report which will contain lots of juicy details about the device. My remotes have the ID: CHQ7083T. While there is lots of information in the report, the only thing we care about is the frequency the remote control is operating on: 303.217 MHz.
Once I knew what frequency the remotes talk on, I could spy on it and begin decoding the protocol it uses to talk to the fans.
Decoding The Signal
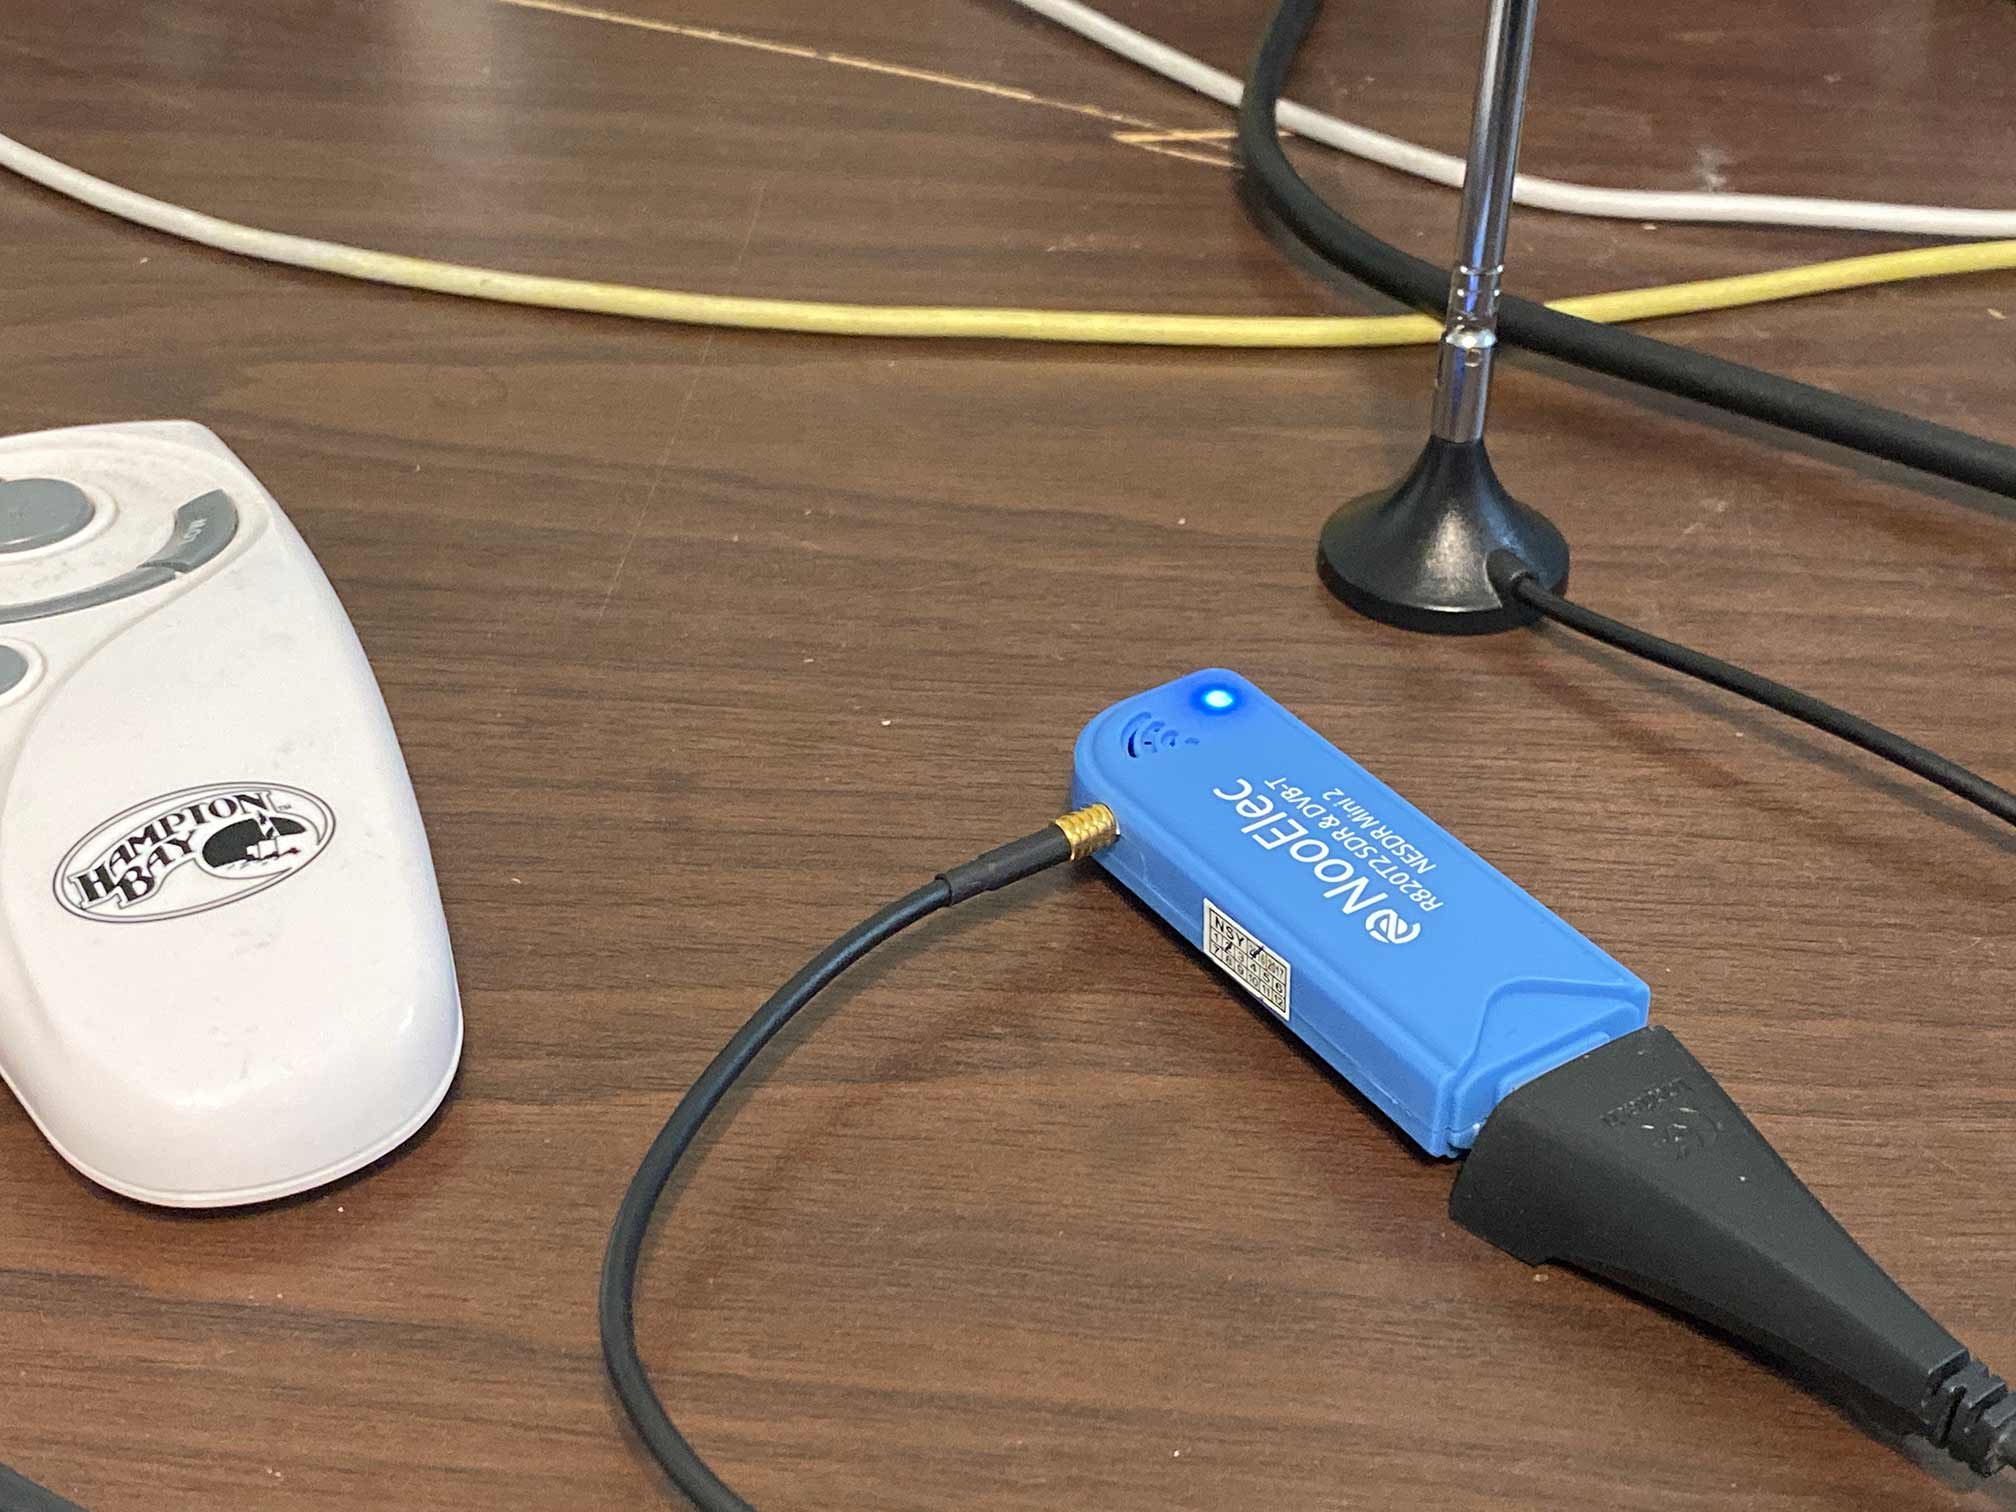
For this job I used the venerable RTL-SDR dongle. These devices are plentiful, cheap, and versatile. I recommend picking one up even if you don’t plan on doing something crazy like me, since they’re so cheap and have such a wide variety of SDR uses (who doesn’t want to receive satellite images!?). Just make sure, when working with any SDR project, your hardware of choice can handle the frequencies you’re targeting (in this case 300MHz is well within range).
As for software I used CubicSDR. I found it to be an easy way to quickly scrub around and get decent recordings of the remote’s signal. There’s probably better options, but CubicSDR sufficed for this simple job.
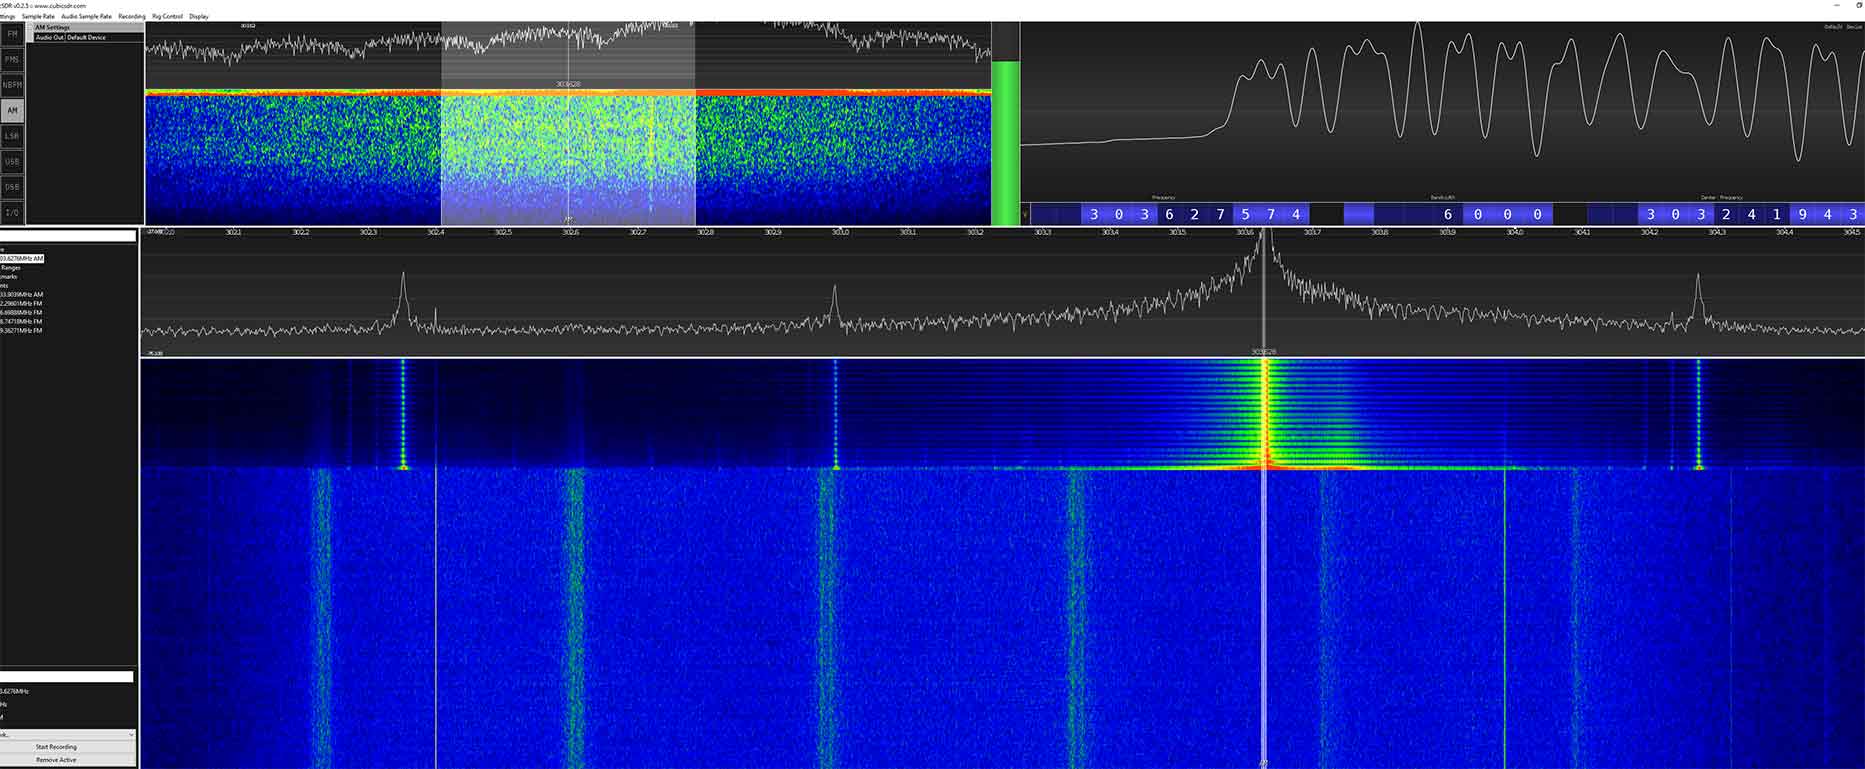
Within CubicSDR I set the center frequency to 303.217 MHz and watched the plot as I pressed buttons on the remote. Sure enough there were short signals bursts, though slightly off from 303.217 MHz (which is to be expected, nothing is perfect, let alone the bottom dollar radio hardware in these remotes).
Figuring that the remotes used a simple protocol I configured CubicSDR for AM decoding to get a look at just the amplitudes of the signal. (Note: Don’t use the screenshot above as a reference, I adjusted bandwidth and set a manual gain for my actual recordings.) Taking a quick recording of the signal and bringing it into Audacity allowed me to begin figuring out what the remote was sending.
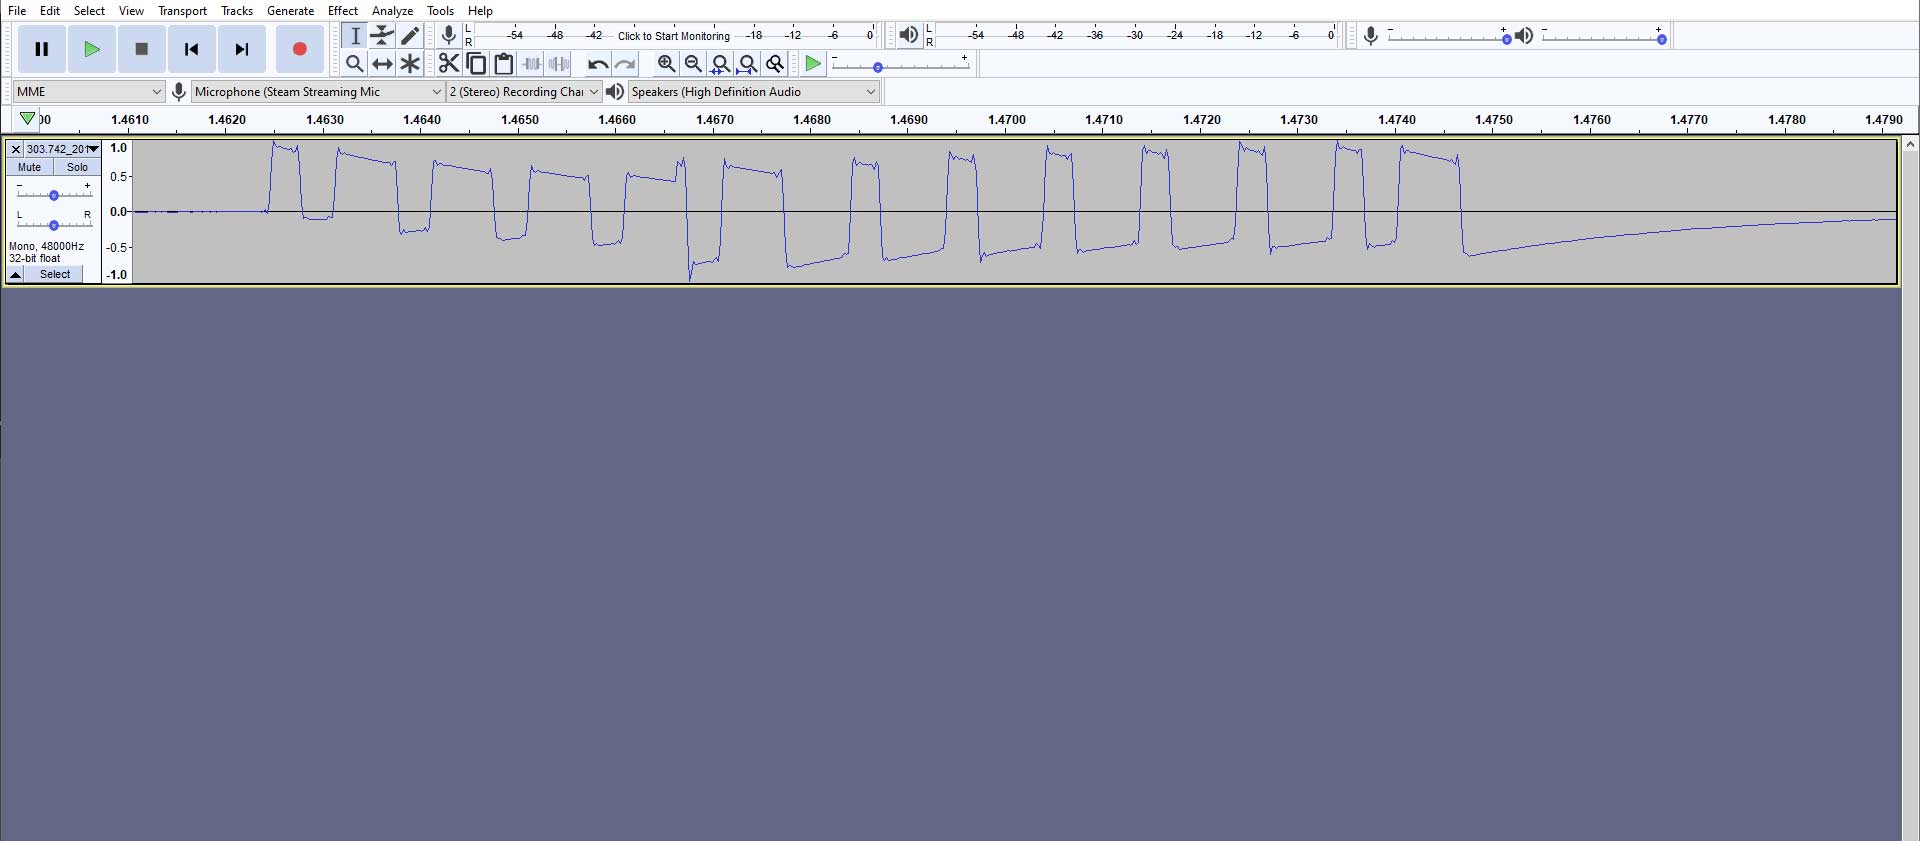
The signal is based on an old IR remote protocol. Everything is composed of “pulses” (carrier on) and “spaces” (carrier off). The signal always begins with what’s called a “header” and “leading pulse”. In this case all of that is covered by a simple 400μs pulse, 300μs space, and finally a 700μs pulse. After that it sends the data payload. A 1 bit is sent by transmitting a 300μs space followed by a 700μs pulse. 0 bits are the opposite; a 700μs space followed by a 300μs pulse. Finally there is a long gap between repeated commands, about a 12,000μs gap. The remotes repeat the command that they’re sending as long as the button is held down, so in practice they get repeated 20 to 40 times.
As for the data payload itself, I took recordings of several different button presses to puzzle it out. If you open the battery compartment there is a set of four small switches that are used to program the remote to different fans. Because of this I knew four bits of the payload were likely a verbatim copy of these switches; a four bit address. This turned out to be true, which left 7 bits for a “command”. By trying all the different buttons each unique command was easily decoded.
Before I make this seem like it was easy, know that I spent the better part of a day getting the RTL-SDR and its drivers set up, figuring out CubicSDR, and pondering over the remote’s signals. The irregular timing of the header pulse was especially confusing at first.
Transmitting
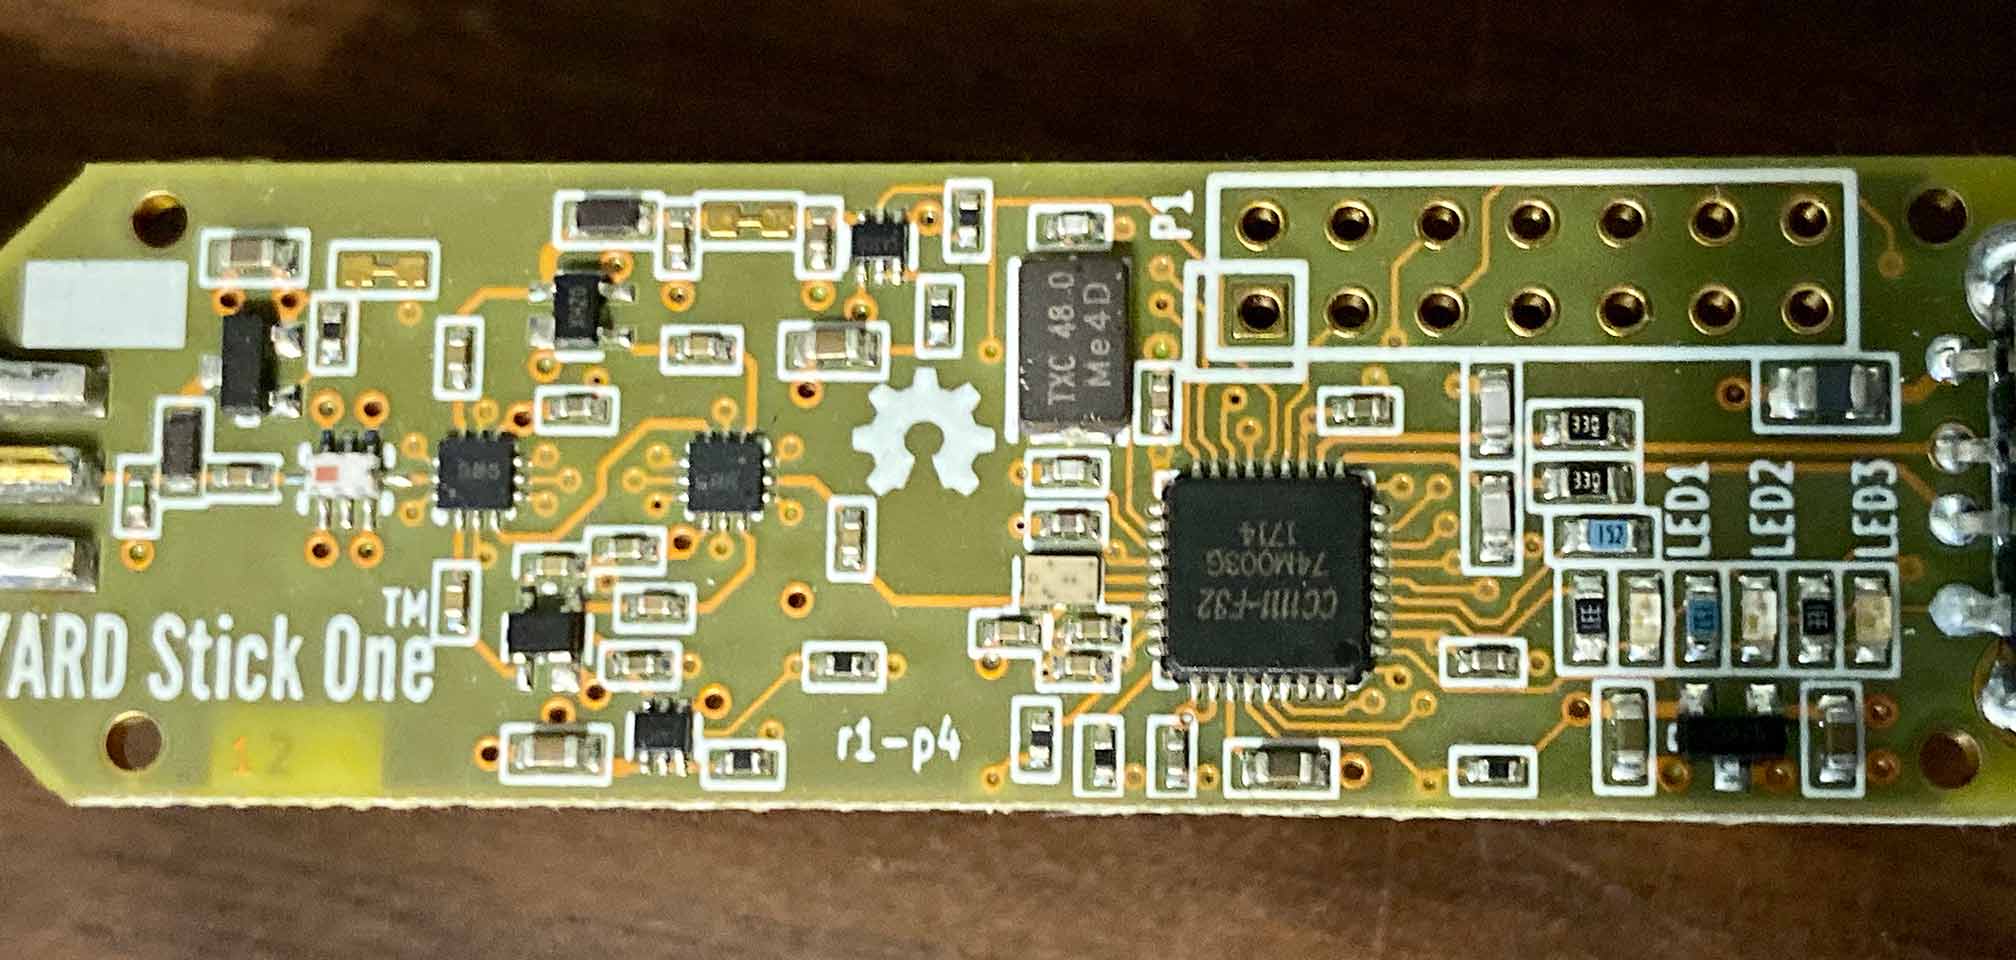
With the remote control protocol decoded, it was time to move on to the real meat of this project: emulating the remotes. For that I would need new SDR hardware. The RTL-SDR cannot transmit signals, so I grabbed a YARD Stick One. It’s a bit limited, but good enough for this application and one of the cheapest options for SDRs with TX capability. I also bought the recommended telescoping antenna to go with it.
WARNING:
Transmitting SDRs are no joke. You must follow all relevant local and international regulations for the frequency bands you plan to transmit in. Seriously.
It didn’t take long to get the YARD Stick One running. It uses rfcat for its firmware and software, so you basically just plug it into a Linux machine and bring up the rfcat Python REPL to begin poking it. Stupidly easy. I configured it for OOK modulation, the right frequency, and 10000 baudrate. This puts the YS1 in a mode where we can send it raw bits to turn the carrier signal on and off at a granularity of 100us. Given the protocol we decoded it’s straightforward to generate a bitstream to emulate what we want. Here’s my ugly code:
def build_bits_hampton(data):
	# First we build a bit string of the bits we want to send to the modem
	result = ""

	# header (400 us pulse, 300 us space)
	result += "1" * 4 + "0" * 3

	# plead (700 us pulse)
	result += "1" * 7

	# data
	for x in data:
		if x == "1":
			result += "0" * 3 + "1" * 7
		else:
			result += "0" * 7 + "1" * 3

	# gap
	result += "0" * 120

	# Pad to a multiple of 8 so we can build bytes
	while (len(result) % 8) != 0:
		result += "0"

	bytecount = len(result) // 8

	# Now convert into a string of bytes
	final = ''

	for i in range(bytecount):
		bits = result[i*8:(i+1)*8]
		value = int(bits, 2)
		final += chr(value)

	return final
I wrote a quick Python script to automate all this and send whatever command I wanted to any particular fan, began testing, and everything worked great. Project done! End of post…
Debugging Firmware

Well it would be, in some fantasy land where all hardware and software is perfect. Unfortunately, the YS1 is a “plug-and-pain” device. Works out of the box for delivering endless amounts of pain.
My script would work once or twice, kind of, but never consistently and the YS1 would frequently lock up and stop responding. Since rfcat is sparsely documented I figured I was just using the library wrong and spent the next few hours toying with different combinations of API calls, debugging the USB stack in case something was wrong with my particular Linux drivers, etc, etc. All roads led to the same chaos. I also discovered, using the RTL-SDR to check what the YS1 was actually sending out, that often it would sometimes go into a mode where it would repeat the same, old command no matter what data I would tell it to send. Complete, utter chaos.
After much debugging (and even dropping the project for a few months) I determined that the YS1 only freaked out when large packets of data were given to it. The ceiling fans need commands repeated 20 to 40 times in a row to ensure that they reliably receive the signal. That meant sending large packets of data to the YS1 which, for whatever reason, causes it to go crazy or crash.
There was no way around having to repeat the commands; the fans wouldn’t reliably respond otherwise. And I couldn’t use a Python loop to do it because Python was too slow and inconsistent. Too long a gap between repeated commands and the fans can become confused.
So what to do? Turns out the RFxmit function, which is used to tell rfcat to transmit data, has a repeat argument. I could give it the small, 31 byte payload and have the YS1 itself repeat it 40 times. Because of the small payload size this didn’t cause the YS1 to crash or behave oddly. Yay! …Only problem now was that the repeat argument didn’t actually do anything! The YS1 just wouldn’t repeat the command more than once no matter what.
Luckily, the discovery of repeat led me to this open issue on the rfcat Github repo. At this point I had already invested too much time into my crazy fan project … so why not dig deep into the internals of the firmware!?
According to the Github issue there are really two problems here. First, the firmware ignores the repeat argument entirely: transmit(&buf[6], len, 0, offset). Second, if one tries to patch that “silly” mistake, ala transmit(&buf[6], len, repeat, offset), they discover the firmware starts behaving weirdly and crashing (surprise surprise).
With some effort I got my machine set up for firmware development (rfcat requires an ancient version of sdcc), and spent a few hours to learn the code’s layout. Once all the relevant pieces to the issue were found I began to strip the firmware down. All code that wasn’t strictly necessary to reproduce the bug was removed by hand, reducing the firmware to something simpler that could be experimented on. I spent a lot of time digging around in the TX loops where the firmware interacts with the radio module, figuring the bug must be in there, but never found anything. Instead, by complete accident I stumbled onto the real cause. It was back at the line referenced in the Github issue:
len = buf[0];
len += buf[1] << 8;
repeat = buf[2];
repeat += buf[3] << 8;
offset = buf[4];
offset += buf[5] << 8;
txTotal= 0;
buf[0] = transmit(&buf[6], len, 0, offset);
Replace 0 with repeat and the firmware explodes. Replace the call with something stupid like transmit(&buf[6], len, (buf[3] << 8) | buf[2], offset); and … everything works fine. !?! I reverted my working copy of rfcat, applied that single line change, and confirmed that the problem was still “fixed”.
Such a change to the firmware shouldn’t have any impact. However it’s possible that rfcat is suffering from either a compiler bug, or a deepseeded stack corruption bug that gets avoided by whatever slightly different code the compiler generates in my modified version. Actually fixing the bug would require more knowledge of the rfcat project than I had any desire to have, and being already several evenings deep into this torturous bug, I decided it was best to take the workaround and move on.
On the brightside, while digging through the rfcat firmware I also found that I was using the API a bit wrong. Rfcat is sparsely documented, and with plenty of bad example code around it wasn’t too surprising. First off, it seems you are supposed to put the radio into IDLE mode before configuring it, which I wasn’t doing. Second, I was erroneously calling setModeTX before my calls to RFxmit. It seemed like the right thing to do, given the function’s name. But what that function actually does is tell the rfcat firmware what state to put the radio into after RFxmit (or other radio calls). Oops? The rfcat firmware automatically puts the modem into TX mode when you call RFxmit. You don’t need to do anything special. And without that silly call to setModeTX it happily puts the radio back to IDLE afterwards, as intended.
So this was my eventual setup code:
def configure_radio(d, fan_type):
	# Don't know if this is necessary, but some documentation seems to indicate that the radio should be IDLE before configuring it
	d.setModeIDLE()
	while (d.getMARCSTATE()[1] not in (MARC_STATE_IDLE,)):
		pass

	if fan_type == 'hampton':
		d.setFreq(303217000)       # This is the frequency the fans should be using, based on the FCC ID
		#d.setFreq(303682000)	   # This is closer to the real-world frequency
	elif fan_type == 'hunter':
		d.setFreq(434000000)

	d.setMdmModulation(MOD_ASK_OOK)
	d.setMdmDRate(10000)       # 100 microseconds per bit
	#d.makePktFLEN(len(final)) # As far as I know, this isn't needed because PKTLEN gets set and handled during RFxmit in the firmware
	d.setMdmSyncMode(0)        # Tell firmware not to transmit its own sync words
	d.setPower(255)
	d.setMdmChanSpc(100000)
	d.setMdmChanBW(100000)
	d.setChannel(0)            # I don't think this is necessary, but just in case...
Note that you’ll need to adjust d.setPower(255) for your application/region; I calibrated it lower later.
With the patched firmware and my improved script, everything finally worked well. The YS1 was no longer hardlocking and I could control the fans reliably.
Integrating Into The Smarthome
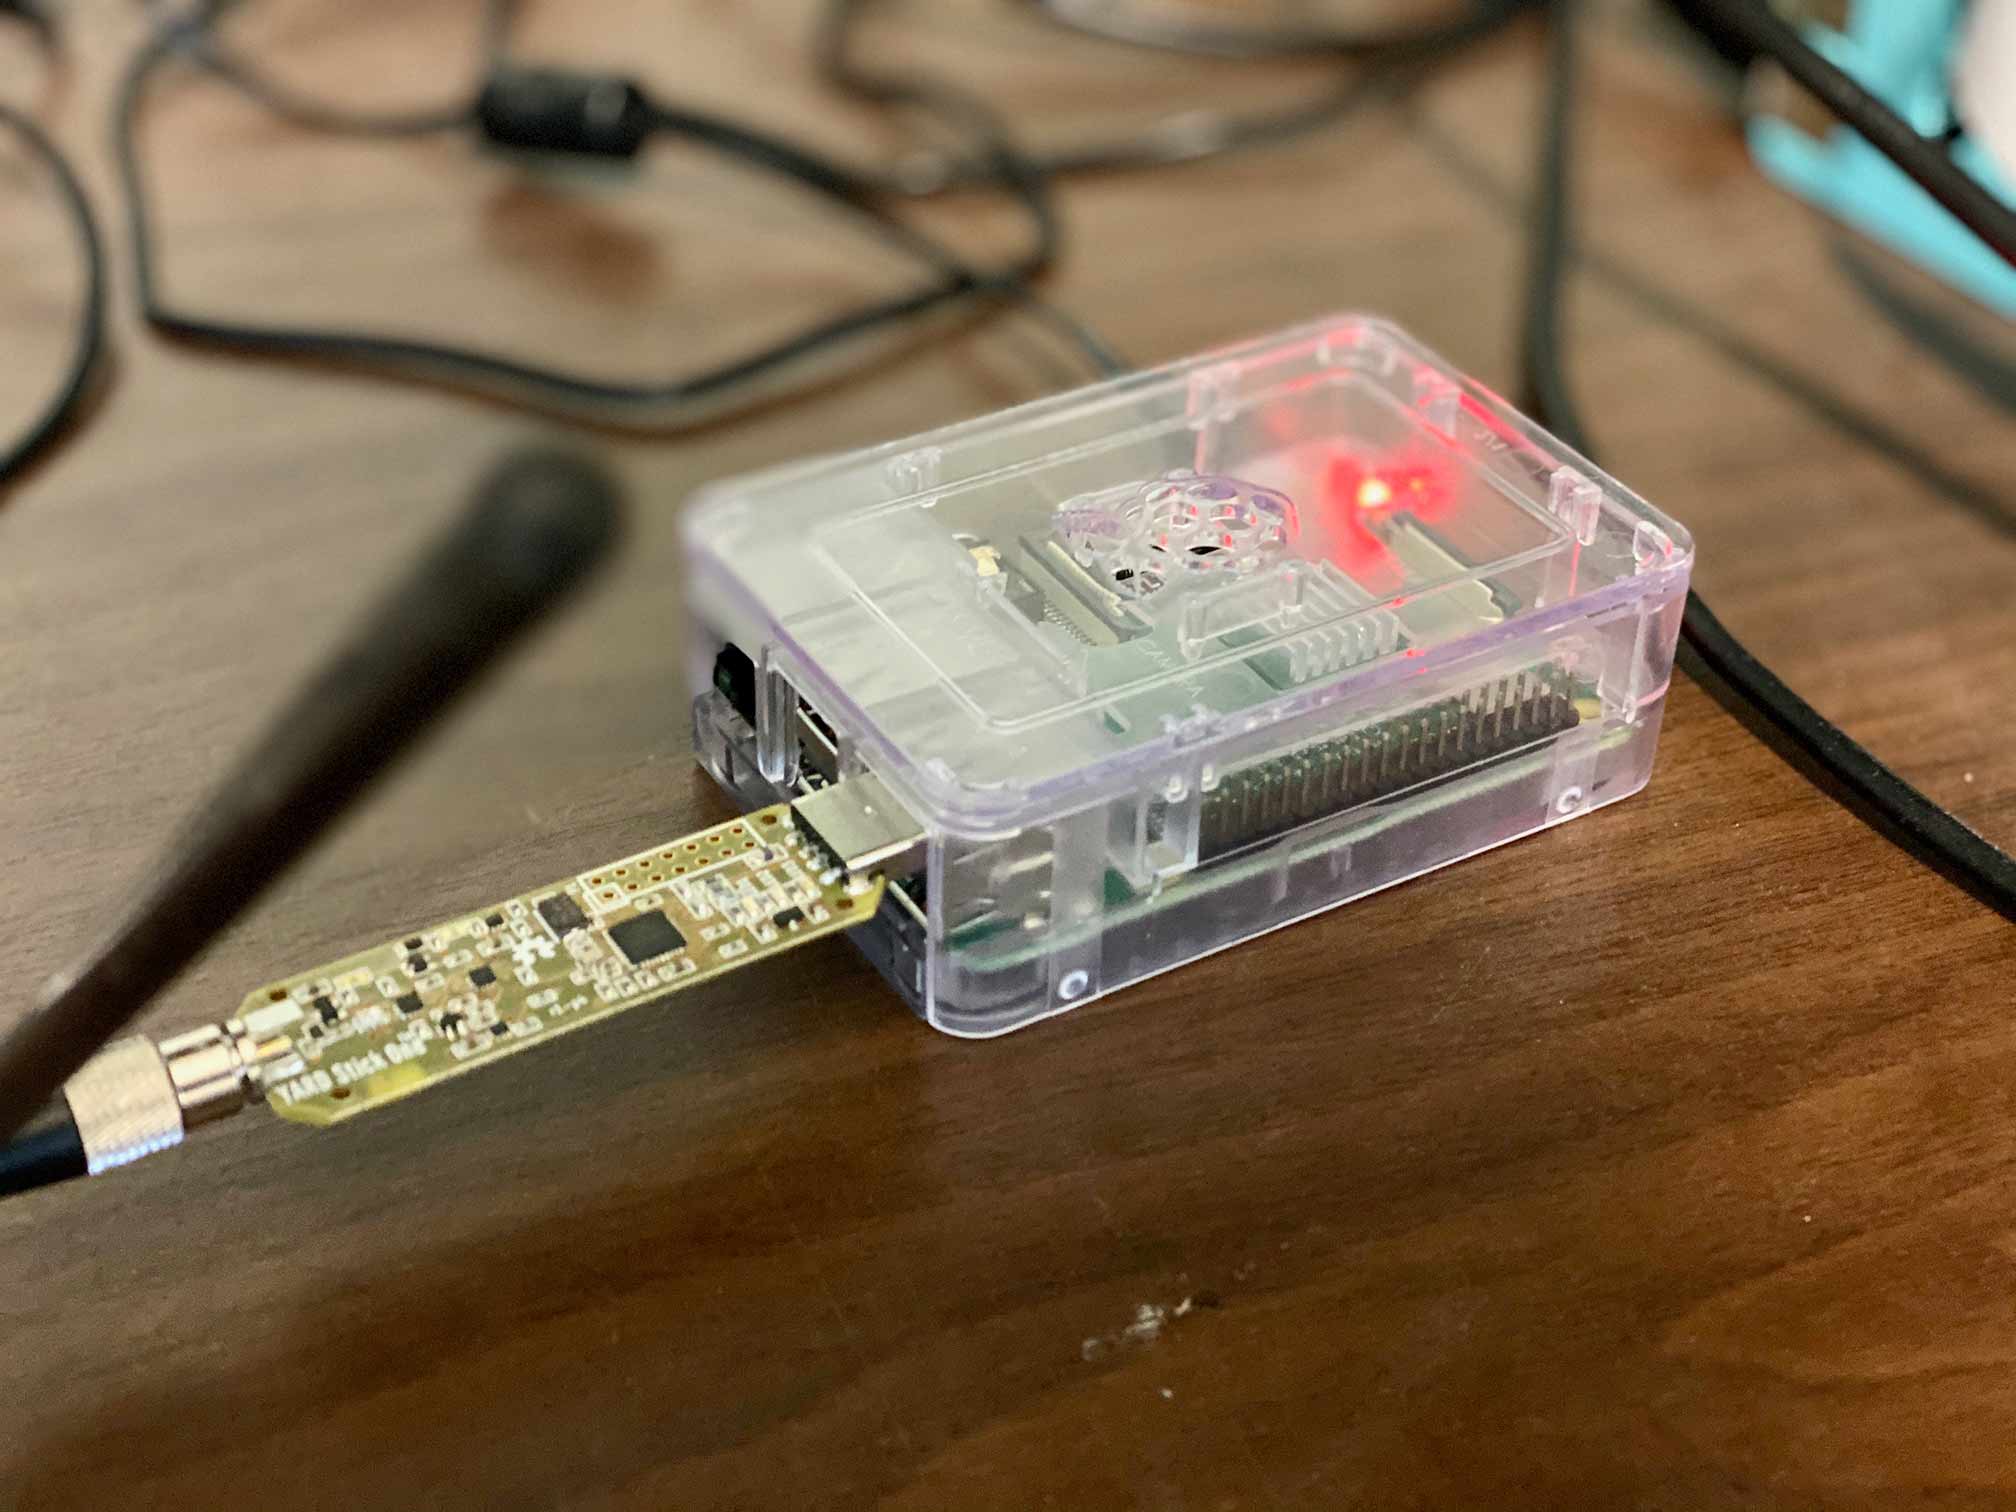
At this point the SDR portion of the project was working reliably. It was time to hook up to the smart ecosystem. I moved the YS1 to a Raspberry Pi 3 and the hacky Python script was refactored into a web server that presented a simple API for the smart home integrations to talk to. fauxmo and Homebridge were set up on the same Pi. Fauxmo provides the (somewhat hacky) integration to Alexa. Homebridge provides the HomeKit integration (I used the HttpAdvancedAccessory to get it to talk to the fan control server). (Security Note: I keep the fan control server isolated to the Pi. Homebridge is authenticated and reasonably secure. But Fauxmo doesn’t have any authentication and exposes itself to the local network. Be wary!).
I can, somewhat proudly, say that this concoction of hardware and software has been solid since putting it together. It is certainly not without its flaws, though. The software has no way of knowing the state of the fans, which both Alexa and HomeKit would prefer to know (so, you know, you can see if your fans are on…). For now my server just always reports back “off”.
There’s no good way to get this information. You can store local state in the server, but if someone operates the fans manually then it goes out of sync with the real world. There are commercial solutions that do more-or-less everything I’ve done here, and they solve this problem by operating an RX that listens in case someone manually operates a fan.
As mentioned at the beginning of this post, there are many better ways to accomplish everything I’ve done here. Still there is something special about telling Siri to turn on the fans, knowing that it’s your magic in the background making things work.
I would like to end this post with huge thanks to the engineers and developers behind RTL-SDR, CubicSDR, YARD Stick One, rfcat, fauxmo, and Homebridge. Nothing is without flaws, but this project would not have been possible without the work of those people. I only hope that my journey can contribute to the knowledge of others.
Happy hacking.